Create A Gallery
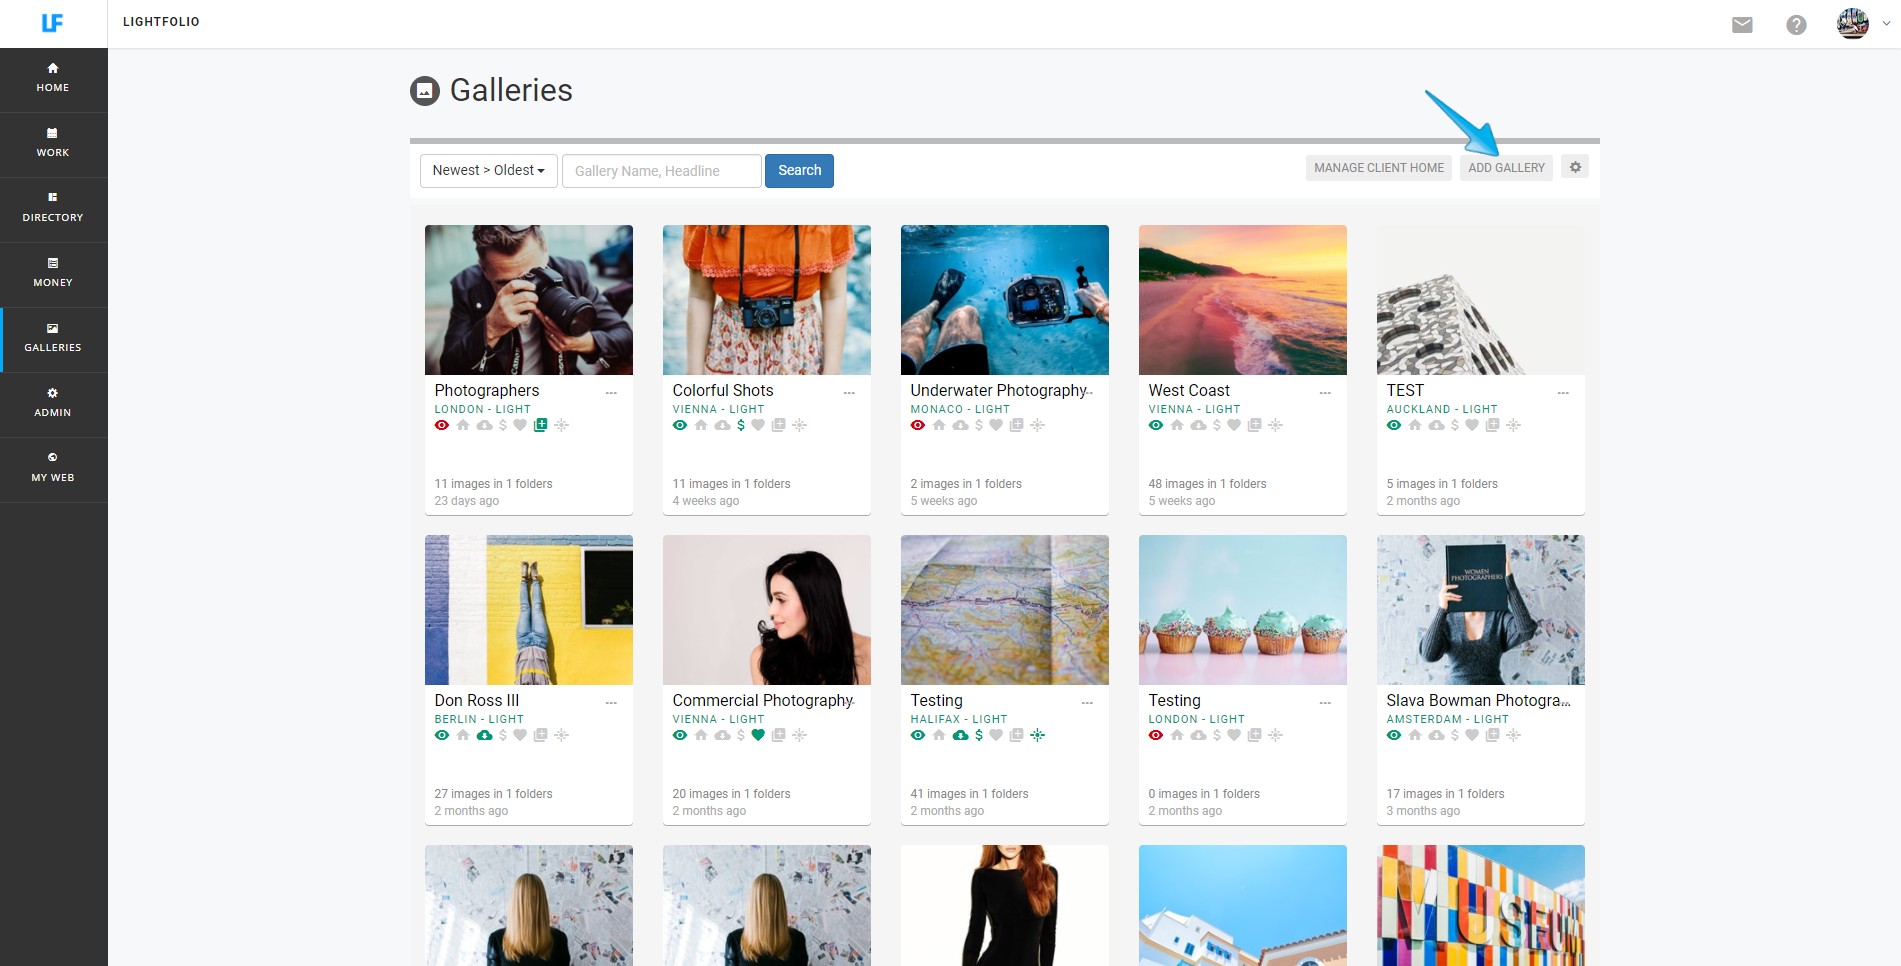
From your Galleries Page click the button that says "Add Gallery"
Give your Gallery a name and then click "Next: Choose Theme"
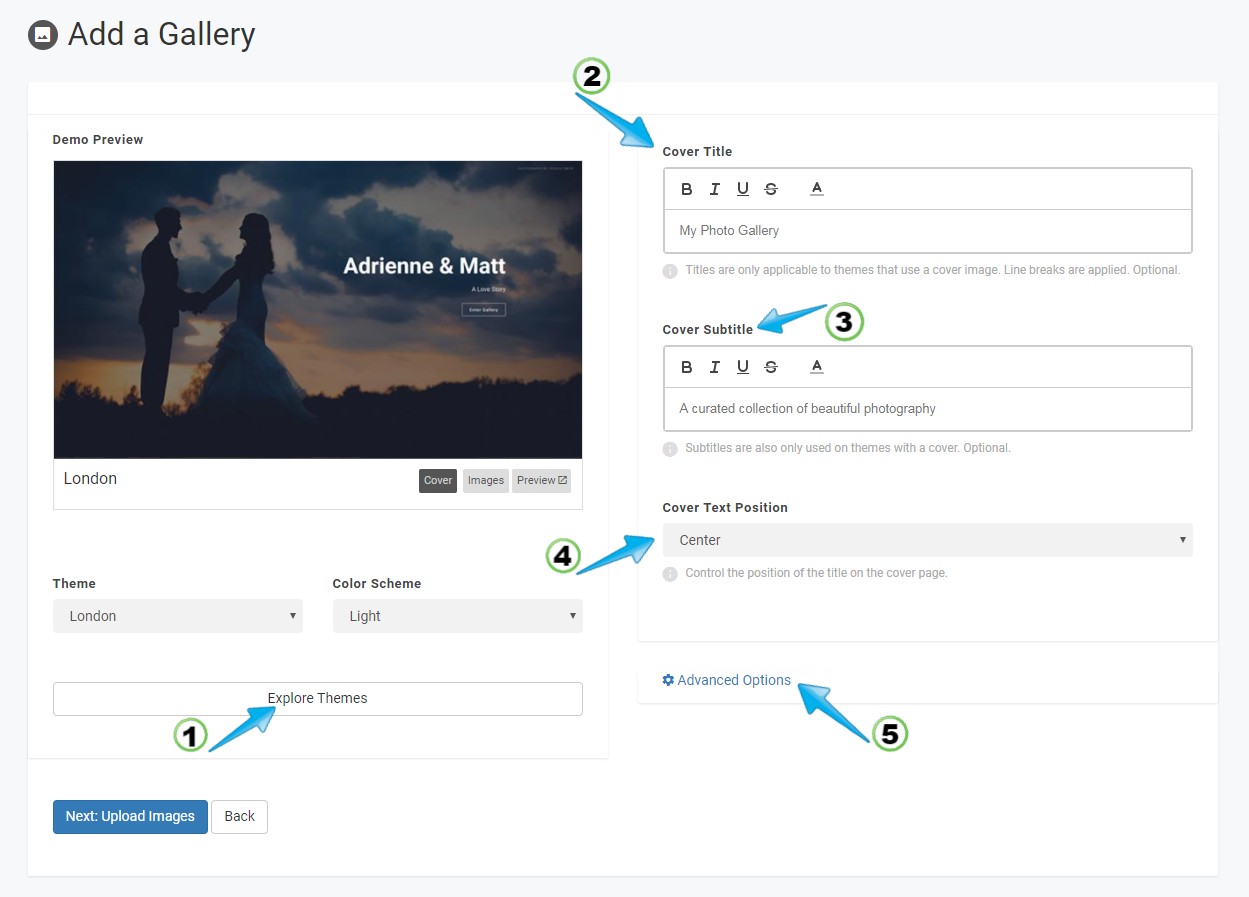
- Explore Themes
On this page you can:
(1) Explore Themes,
(2) Create Cover Title,
(3) Create Cover Subtitle,
(4) Align the Cover Text Position
(5) Or, Choose Advanced Options
Once you click "Explore Themes" an new page will appear with a variety of Themes to choose from.
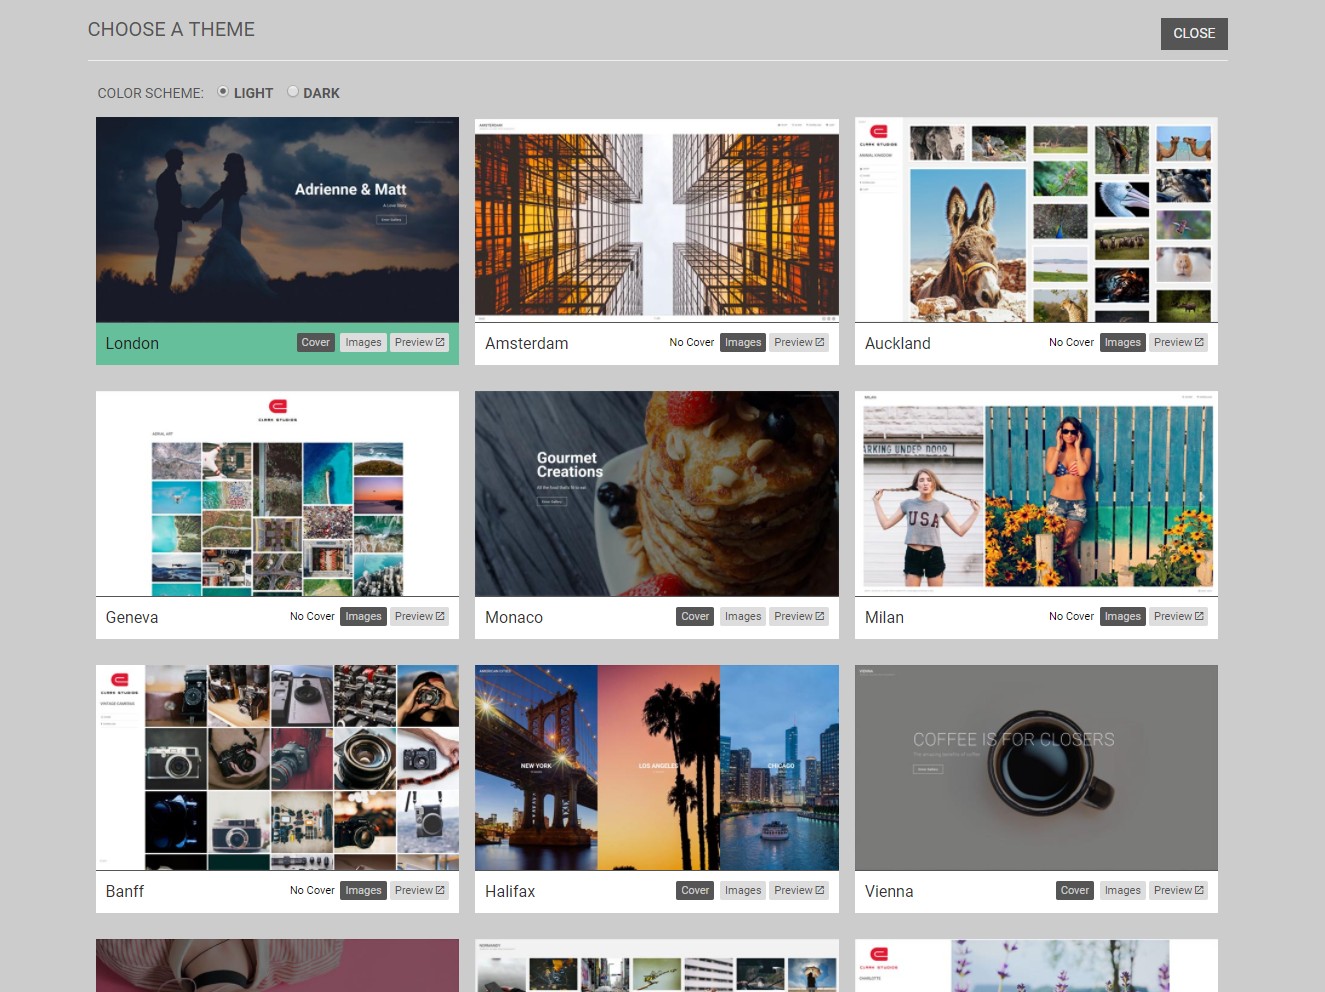
With each Theme you have the option to view the layout of the Images or Cover photo before making a selection. You also can select Preview to see the gallery in full screen. If you select this option a new screen will appear with the gallery. The layout of your gallery can be Light. Or it can be Dark.
Once you decide which Theme you want for your Gallery, hover over the image click "Select"
- Upload Images
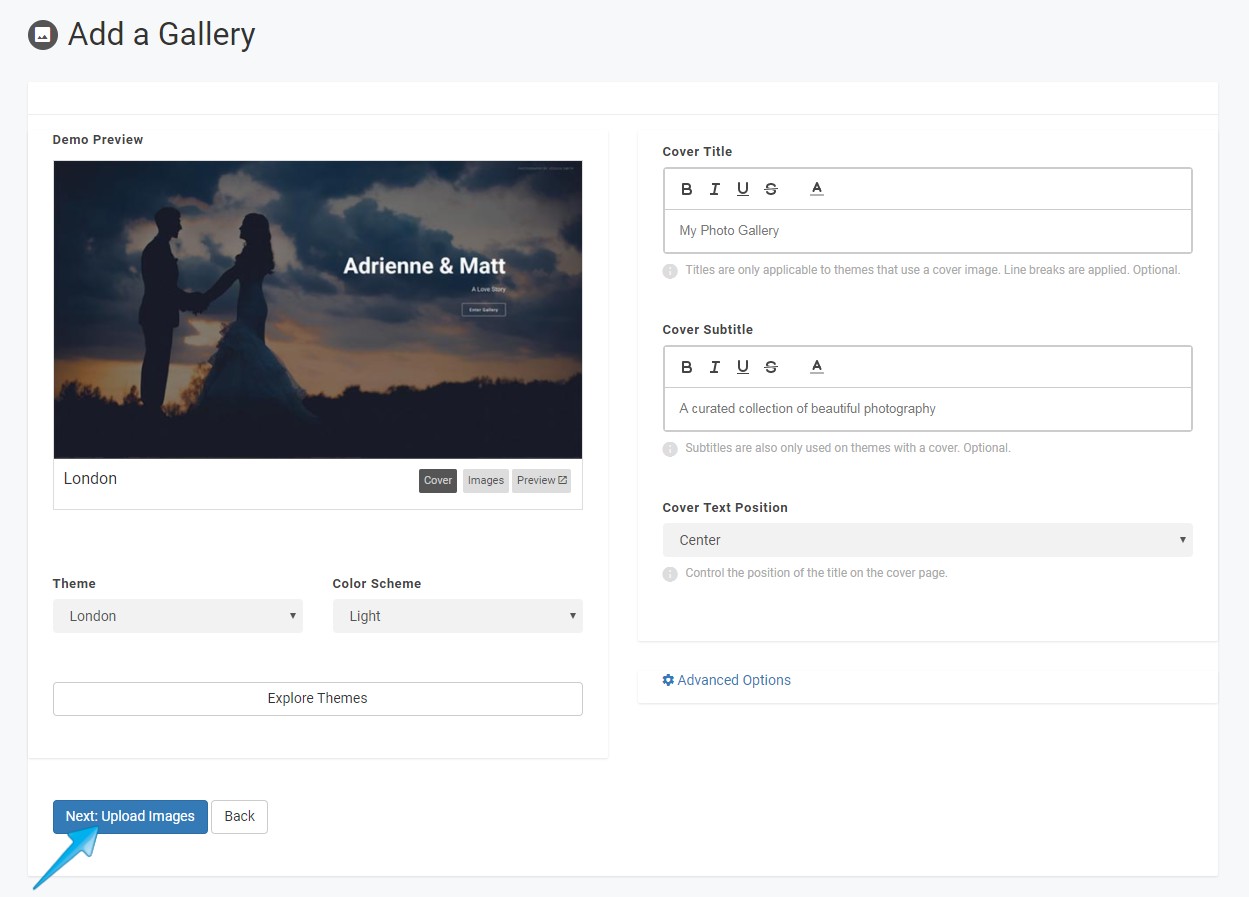
After you have selected a Theme you can then select "Next: Upload Images"
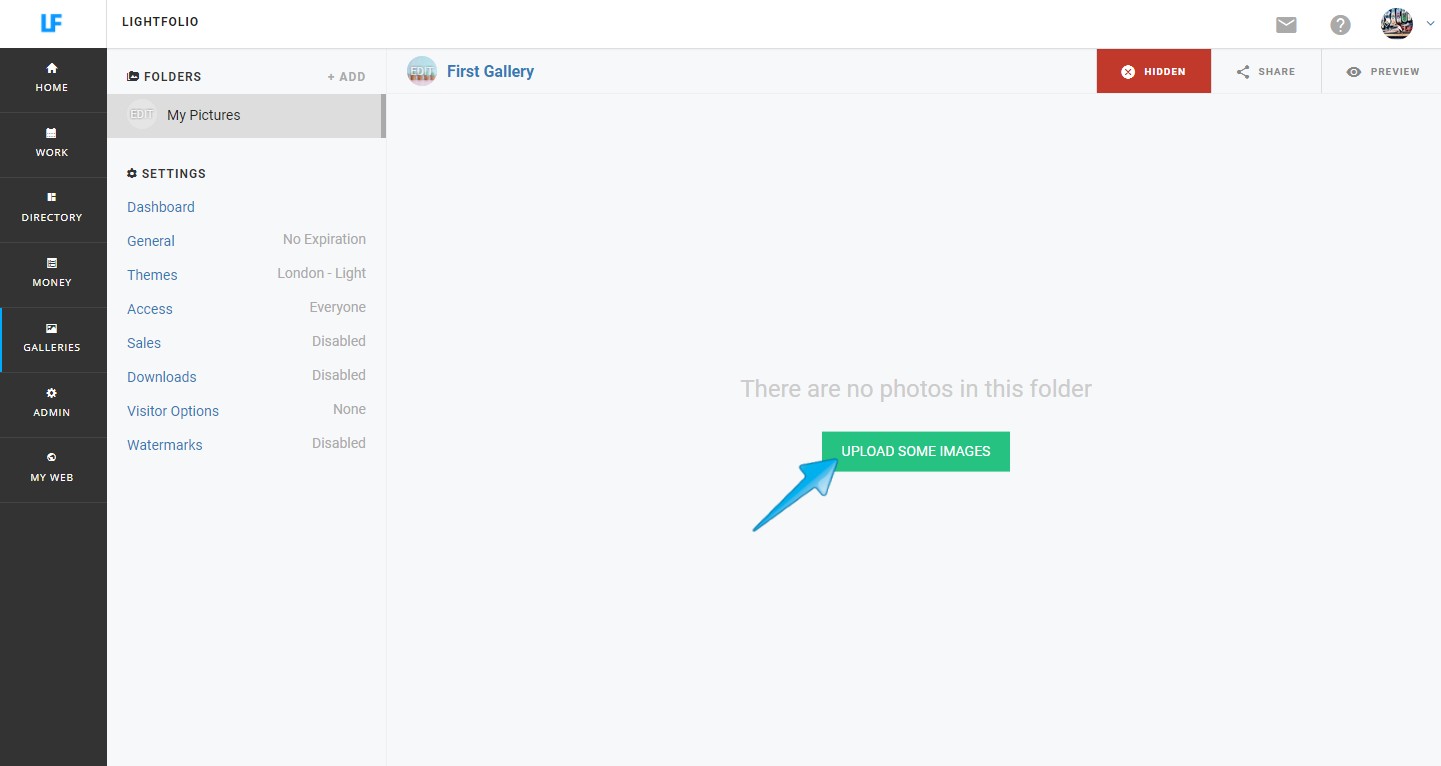
On the Folder of Images page you can select "Upload Some Images"
Let's go ahead and "Choose files from your computer"
Tip: Before uploading images be sure to select how many images you would like to upload concurrently. Basically, if you have slow internet speed select the drop down for 1 image at a time, or if you have fast internet speed select the drop down for 6 images at a time. This does not reflect the number of images you can select for uploading -- as many or as few as you would like.
Select the files from your computer and click "open"
Once Uploading is complete you can either "Close" out of this window or "Upload More"
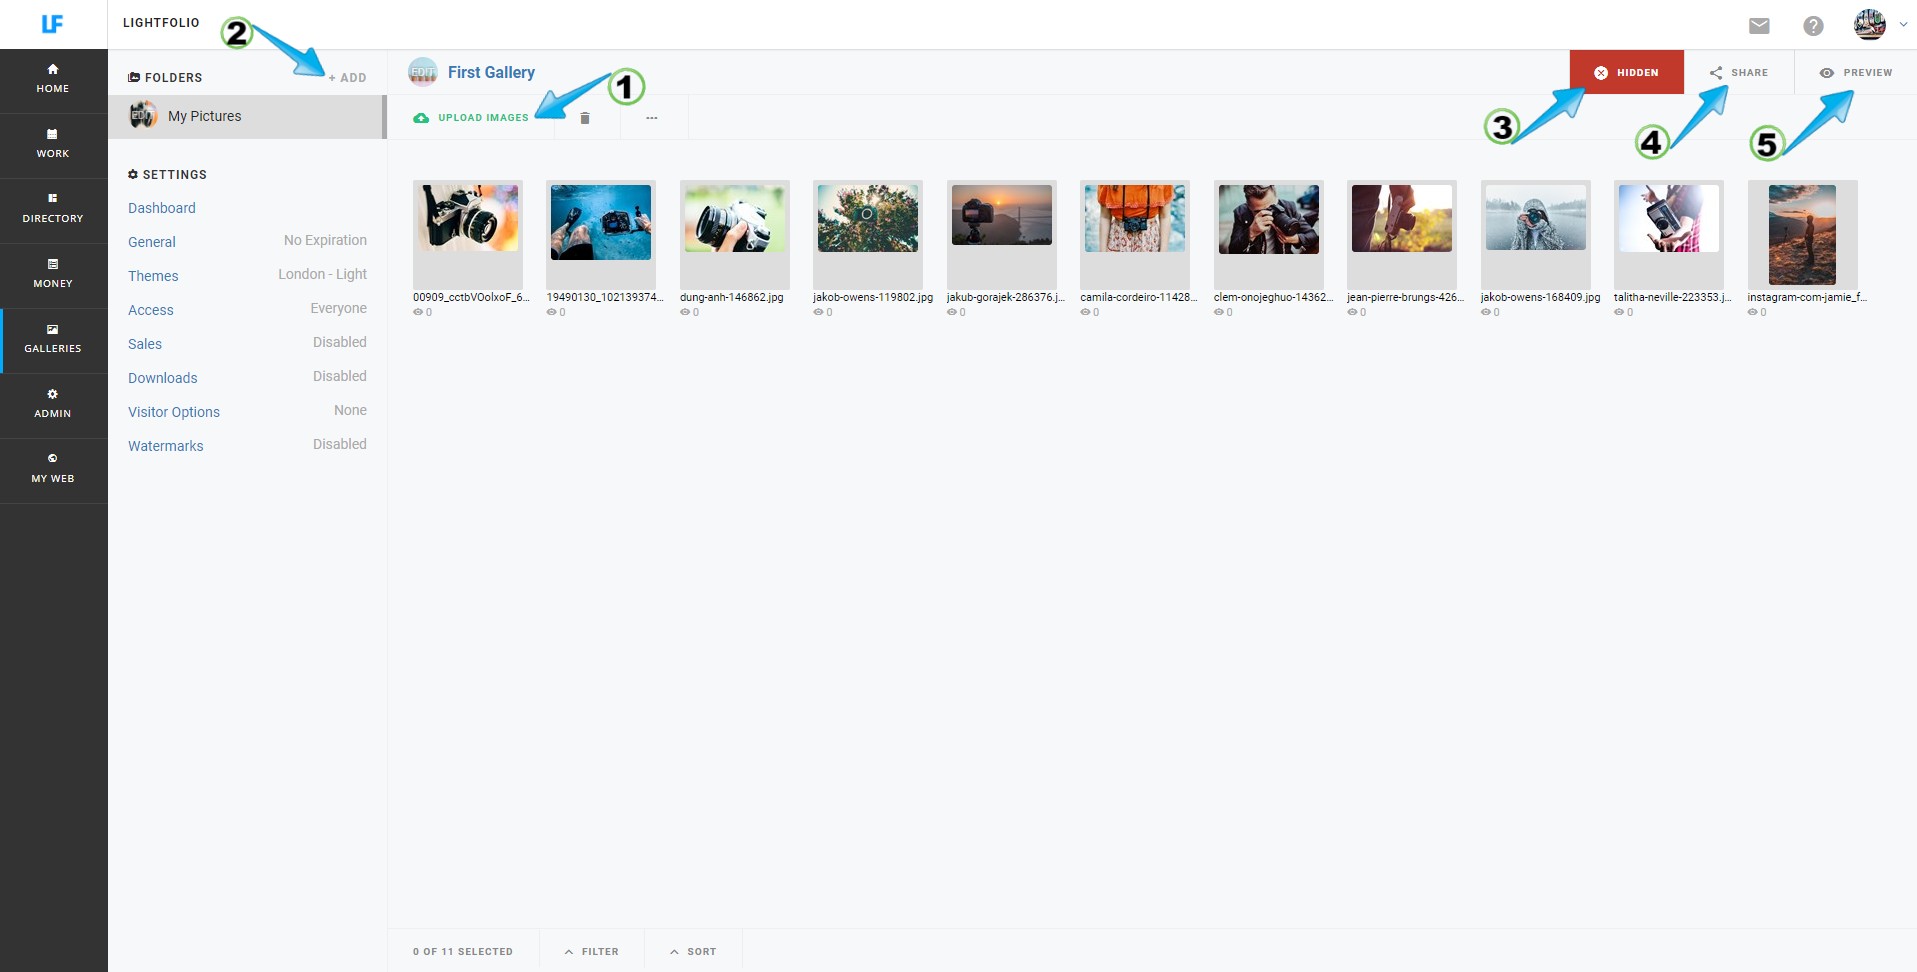
If you are finished Uploading images you will now see your Images in a Folder. On this page you have a number of different options:
(1) Upload more Images to your Folder,
(2) Add more Folders to your Gallery,
(3) Publish your Gallery,
(4) Share your Gallery or
(5) Preview your Gallery.
For more on Settings click here
- Select Cover Photo
Before concluding the basics on how to Create a Gallery you will want to choose an image for your Cover Photo. This image will appear as the Cover Photo for not only your Gallery Visitors to see but also, it will be the Cover Photo that appears on your Galleries Page.
(1) Select an Image,
(2) Click the additional options,
(3) And select "Make Cover"
You will have the option to assign the image to the Gallery Cover or the Folder Cover. For now, assign the image to the Gallery Cover. If you add more Folders to your Gallery you can then assign different Cover images for the different Folders within your Gallery.
- Preview Gallery!
Now that you have walked through the basics of creating a gallery you can view the gallery as your gallery visitors would see it. That's the fun part!
Select "Preview" on your Folder of Images page. You will then see your cover photo and below that your image layout.

You've finished the steps to Creating a Gallery! For a more detailed description on creating galleries click here.